Two Art Pieces - One Technique
“Creativity is intelligence having fun.”
When Auntie comes to town, the paint and glue flow as fast as the creative juices. Auntie Krista is a teacher (currently teaching kindergarten) and has some great art activities in her arsenal. Her classroom is Reggio-inspired and her art is innovative and process focused. She strives for independent art, where there is little to no "help" from the teacher aside from basic guidance and demonstration. Her approach is no different when she comes here and guides Maelle through some amazing art activities. She assists where a three-year-old would need help but accommodates difficult tasks to make them personal and independent for Maelle to create her very own masterpiece. Her art always turns out amazing and these two pieces are no different. I tried to get her to guest write this blog post but she refused.
What You Need:
- Paper - we used watercolour paper. Thick paper will also be more durable through the painting process and will be easier to cut.
- Paint - we used washable paint for an easier cleanup
- Paintbrushes
- Squeegee - we used the squeegee from the kids' play cleaning set but you can substitute this with a piece of wood or ruler.
- Pen/pencil/crayon
- Construction paper
- Oil pastels
- Scissors
- Glue
- Sparkles
Piece 1: Paper Cut Out Art

How To:
- Prepare your space.
- Lay down a disposal sheet or tablecloth over your work area.
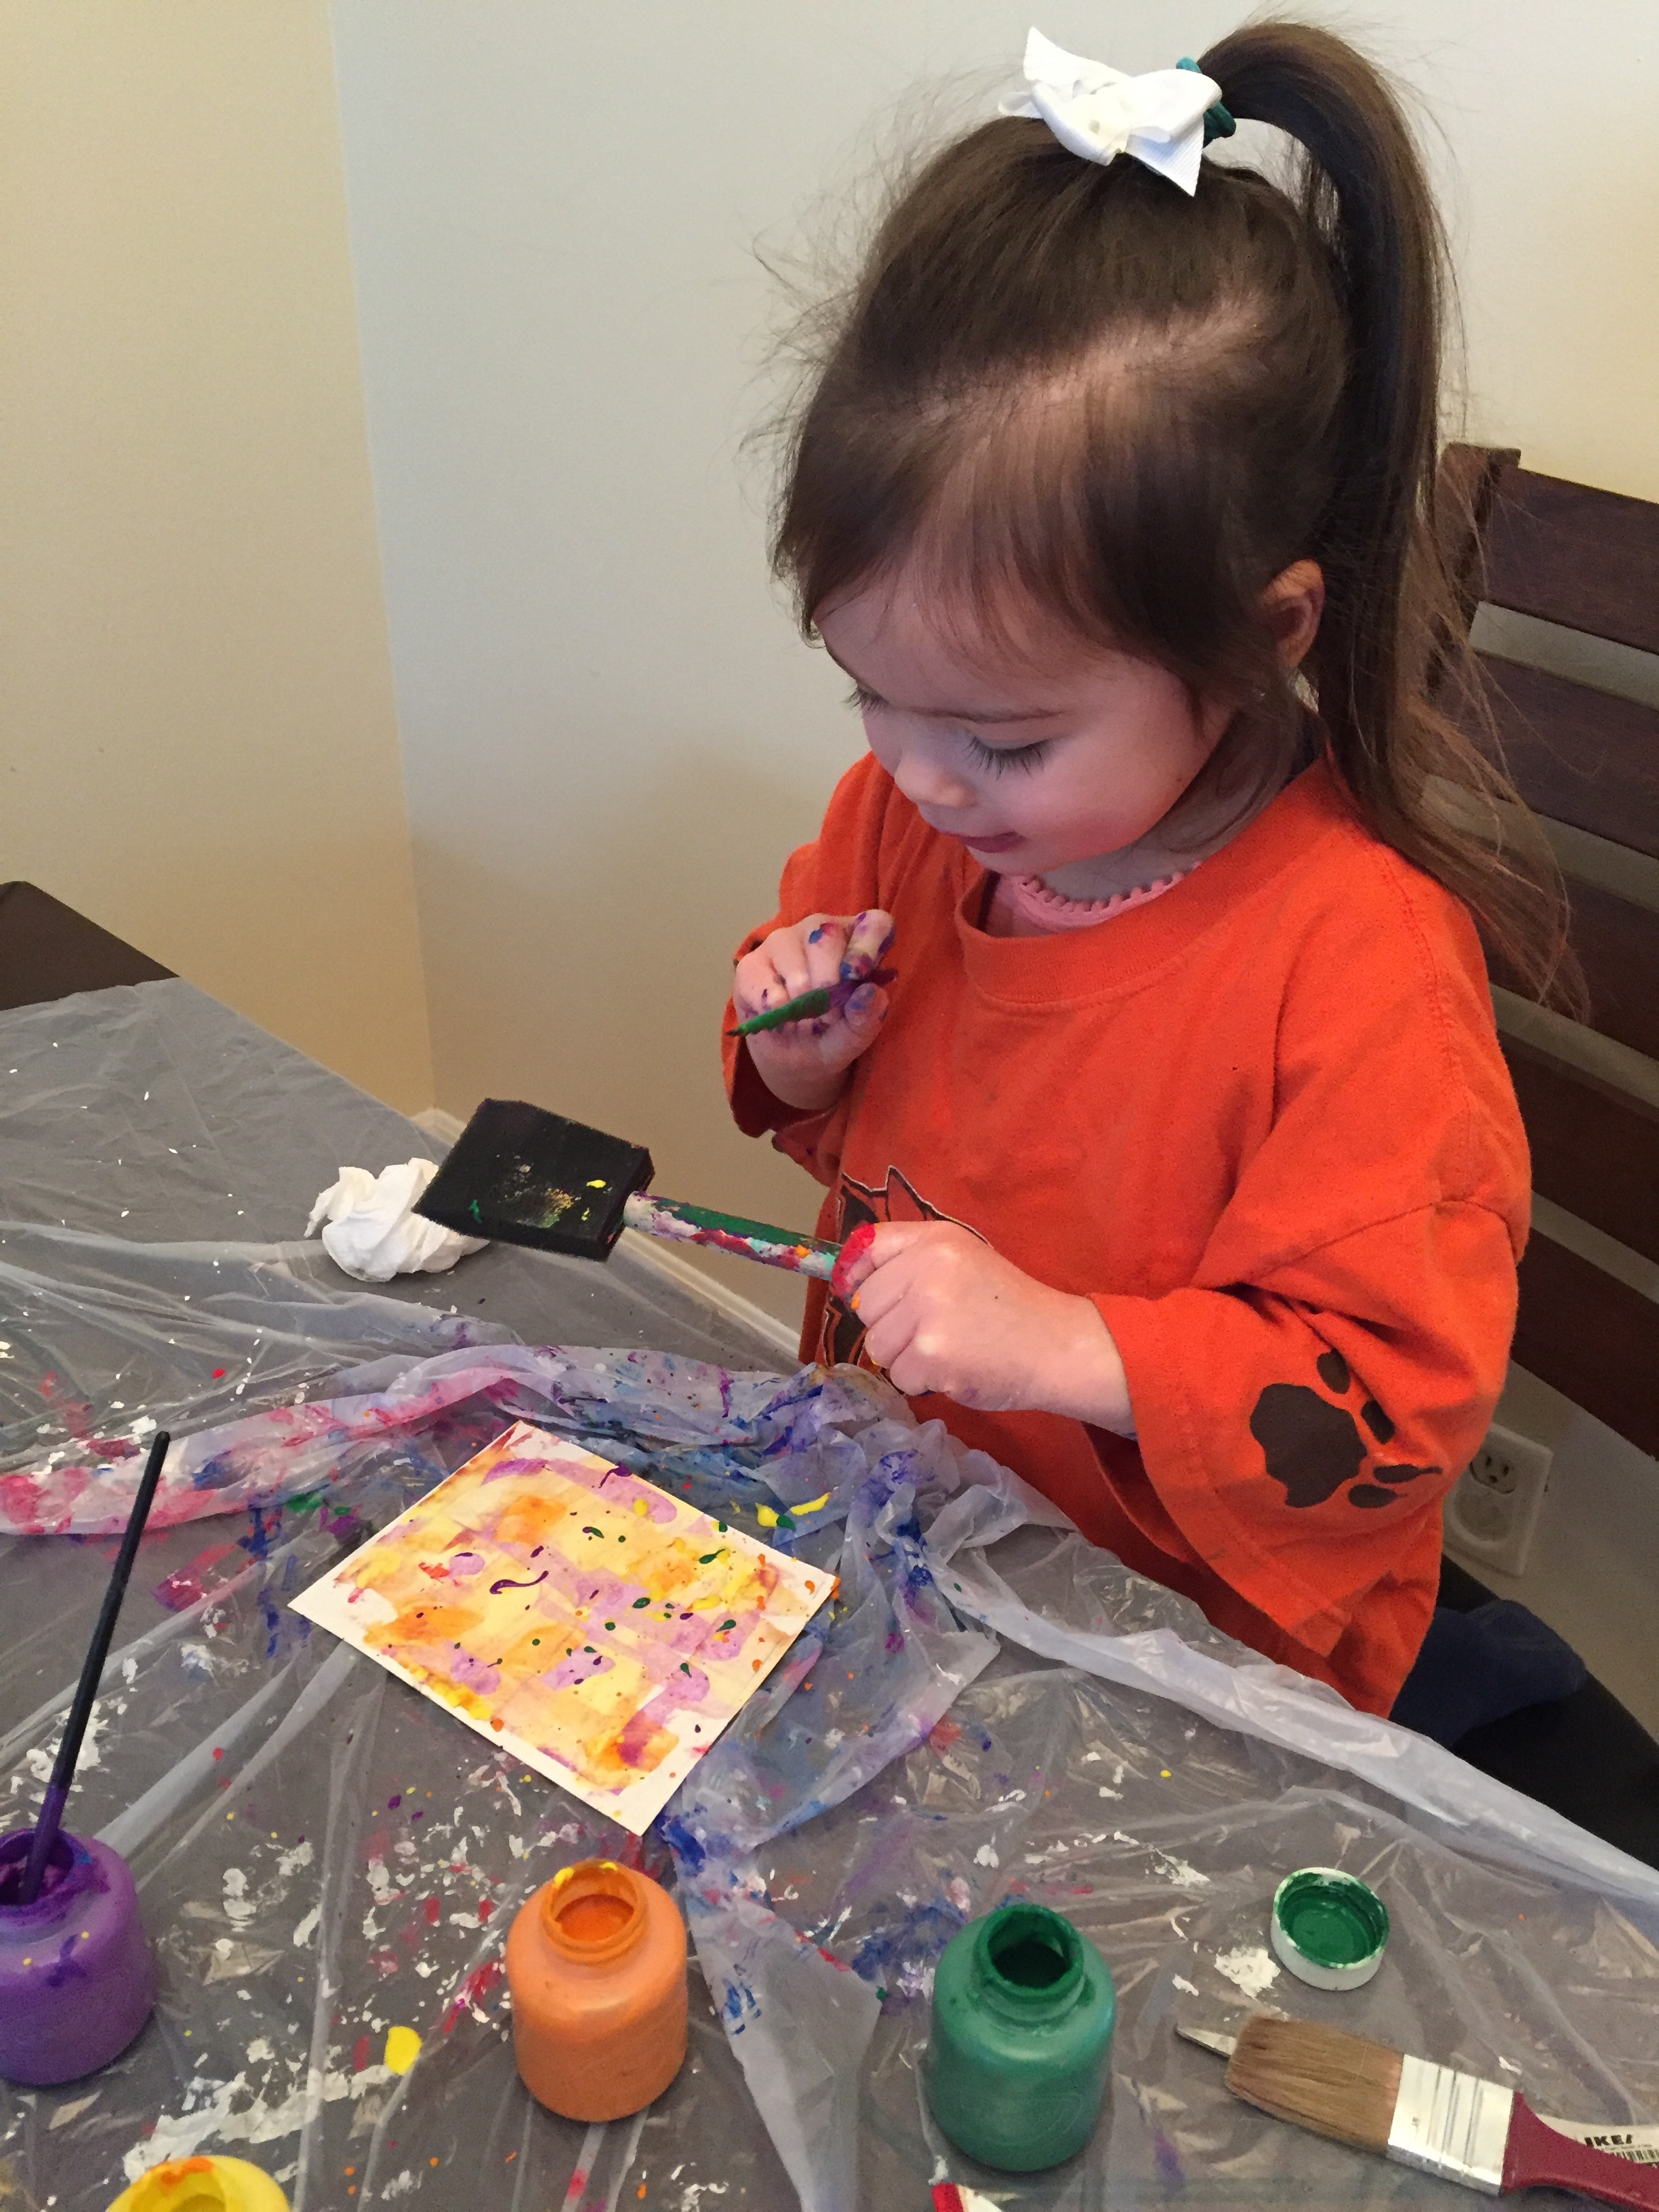
- Dress your kids in clothes you aren't worried about getting paint on - a smock or in our case a paint shirt.
- Prepare your art supplies, including choosing paint colours.
- Have your child dab thick spots of paint onto white, sturdy paper using a paintbrush.
- Let them choose two or three colours per page that they believe work well together.
- We used a variety of different paper sizes, but ensure that there are some large enough for the actual cutouts.
- Let your child squeegee the spots to create a smear effect.
- There is no wrong way to do this; the more haphazardly they smear the cooler the effect.
- Just make sure they are smearing the paint and not lifting the squeegee.
- Tip: Create lots of these pages in a variety of colour combinations - especially if you are stretching this art for both pieces - we had about a dozen.
- Using a tapping technique, have your child disperse paint spots on top of the smeared paper.
- Teach your child how to do this prior to letting them go for it.
- Have them put a generous amount of paint on one brush and tap it on another brush while hovering above their smeared paper.
- Let the paper dry.
- We left our papers to dry overnight. Do not proceed unless you are sure the papers are fully dry.
- Tip: Using a hairdryer can quickly speed up the drying process if you are trying to complete the art in one day.
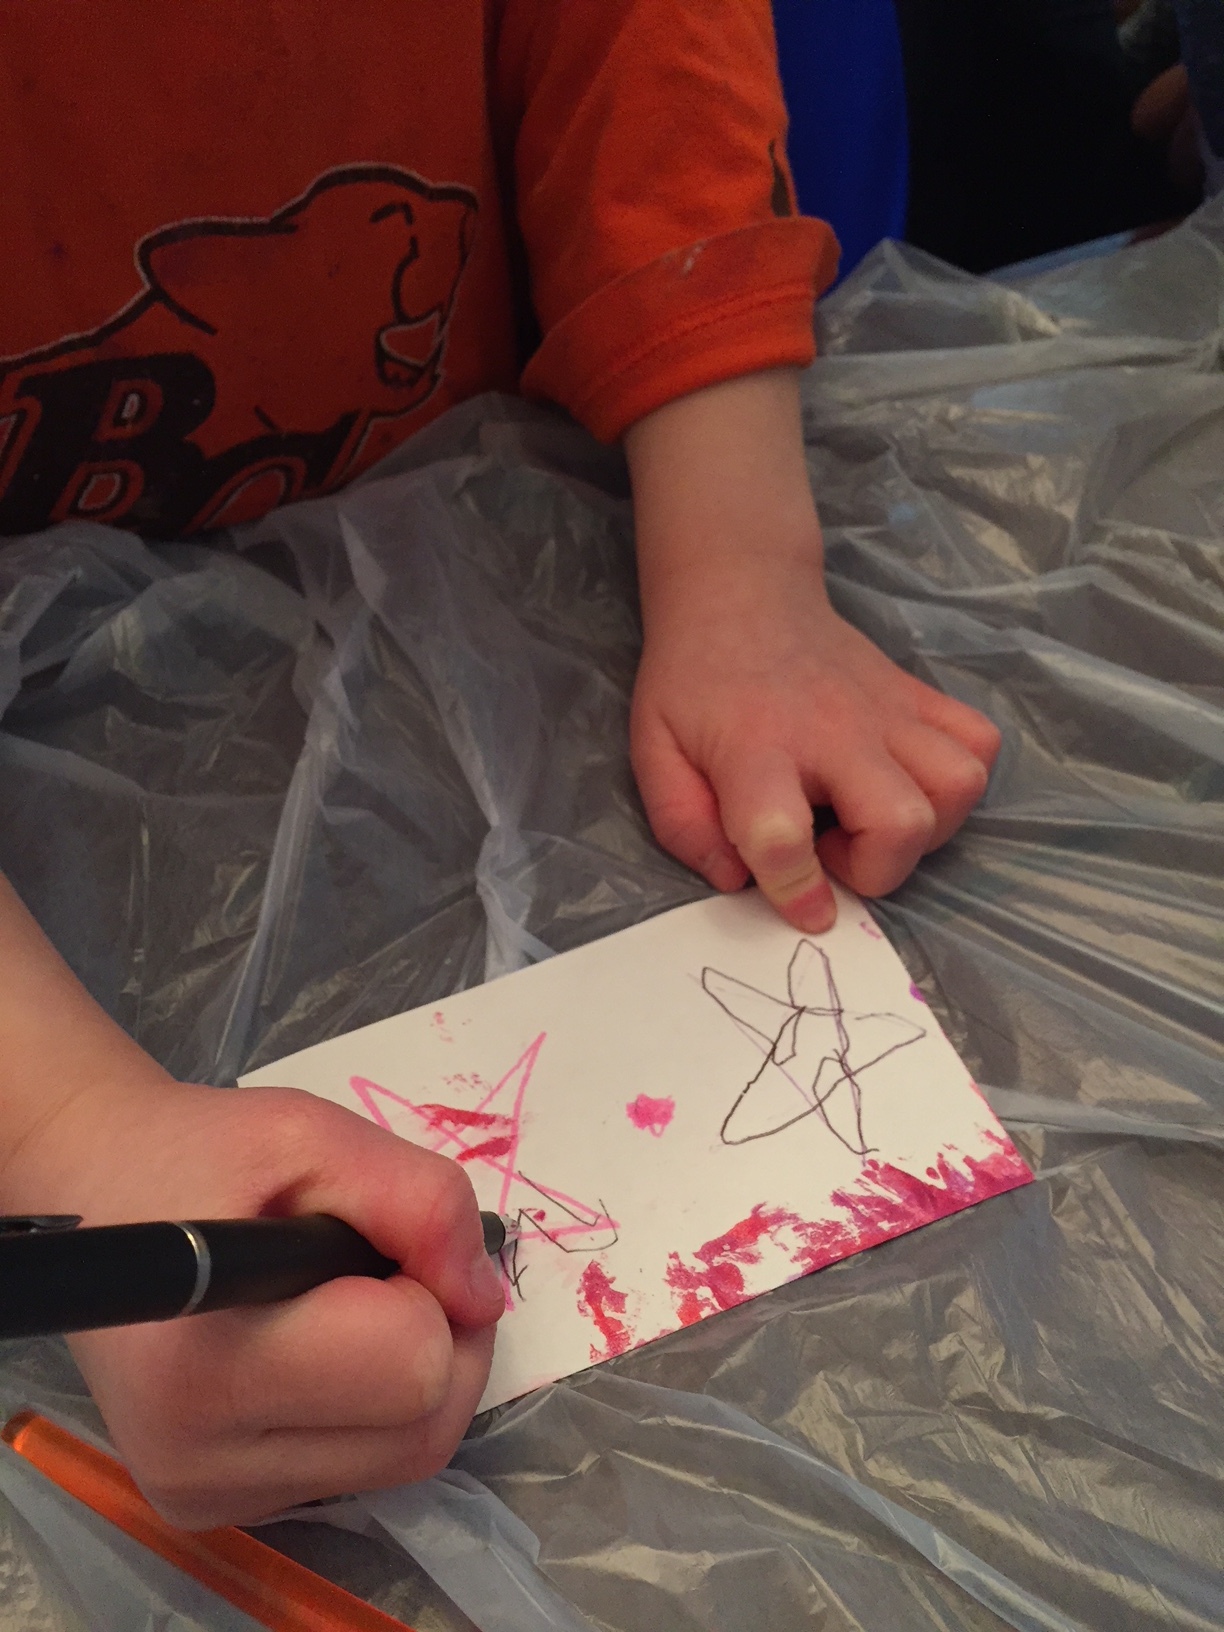
- Have your child draw whatever they are going to cut out on the back of their masterpieces.
- Maelle drew an Easter bunny because we completed this over the Easter long weekend and because she loves bunnies!
- To accompany her bunny she drew eggs in a variety of different sizes.
- Depending on your child's age have them practice what they are planning to draw.
- Depending on the age of your child, either cut out the picture(s) for them or have them cut out the picture(s) they have drawn.
- For Maelle (aged three) we cut the picture out for her.
- Let them draw details onto the front of the cutouts using oil pastels.
- Have them glue the pieces onto a piece of construction paper how they would like.
- Let them add any finishing touches to their artwork.


Piece 2: Constellation Art

How To:
- Prepare your space.
- Lay down a disposal sheet or tablecloth over your work area.
- Dress your kids in clothes you aren't worried about getting paint on - a smock or in our case a paint shirt.
- Prepare your art supplies, including choosing paint colours.
- Have your child dab thick spots of paint onto white, sturdy paper using a paintbrush.
- Let them choose two or three colours per page that they believe work well together.
- We used a variety of different paper sizes, but ensure that there are some large enough for the actual cutouts.
- Let your child squeegee the spots to create a smear effect.
- There is no wrong way to do this; the more haphazardly they smear the cooler the effect.
- Just make sure they are smearing the paint and not lifting the squeegee.
- Tip: Create lots of these pages in a variety of colour combinations - especially if you are stretching this art for both pieces - we had about a dozen.
- Using a tapping technique, have your child disperse paint spots on top of the smeared paper.
- Teach your child how to do this prior to letting them go for it.
- Have them put a generous amount of paint on one brush and tap it on another brush while hovering above their smeared paper.
- Use the tapping technique on a full-sized piece of black construction paper.
- We were trying to create a night sky effect so we chose white paint on black paper to create "stars".
- Create as many background pages as you would like to have for a final project.
- Let the paper dry.
- We left our papers to dry overnight. Do not proceed unless you are sure the papers are fully dry.
- Tip: Using a hairdryer can quickly speed up the drying process if you are trying to complete the art in one day.
- Have your child draw the stars in various sizes on the back of the white smeared and spotted paper.
- If your child is unable to draw stars by themselves, draw stars for them and have them trace your picture. This is a great method to teach them how to draw stars while also developing their fine motor skills.
- Depending on the age of your child, either cut out for them or have them cut out the stars they have drawn.
- For Maelle (aged three) we cut the stars out for her.
- If you cut for them, follow your child's traced line (not the lines you drew) to ensure that the cutouts are as much their own work as possible.
- Have them glue the stars onto the black, night sky construction paper that was previously created.
- They can glue them how they would like or try to replicate an actual constellation.
- Let them draw lines using oil pastels to connect the stars.
- This is to mimic the shape of a constellation so showing them what a constellation looks like ahead of time is useful.
- For kids already interested in space/constellations, find a constellation that they like or already know and have them try to replicate it.
- Of course, Maelle wanted to do a bunny constellation. See if you can spot it in her final product
- Let them add glue and shake sparkles on to complete the piece.